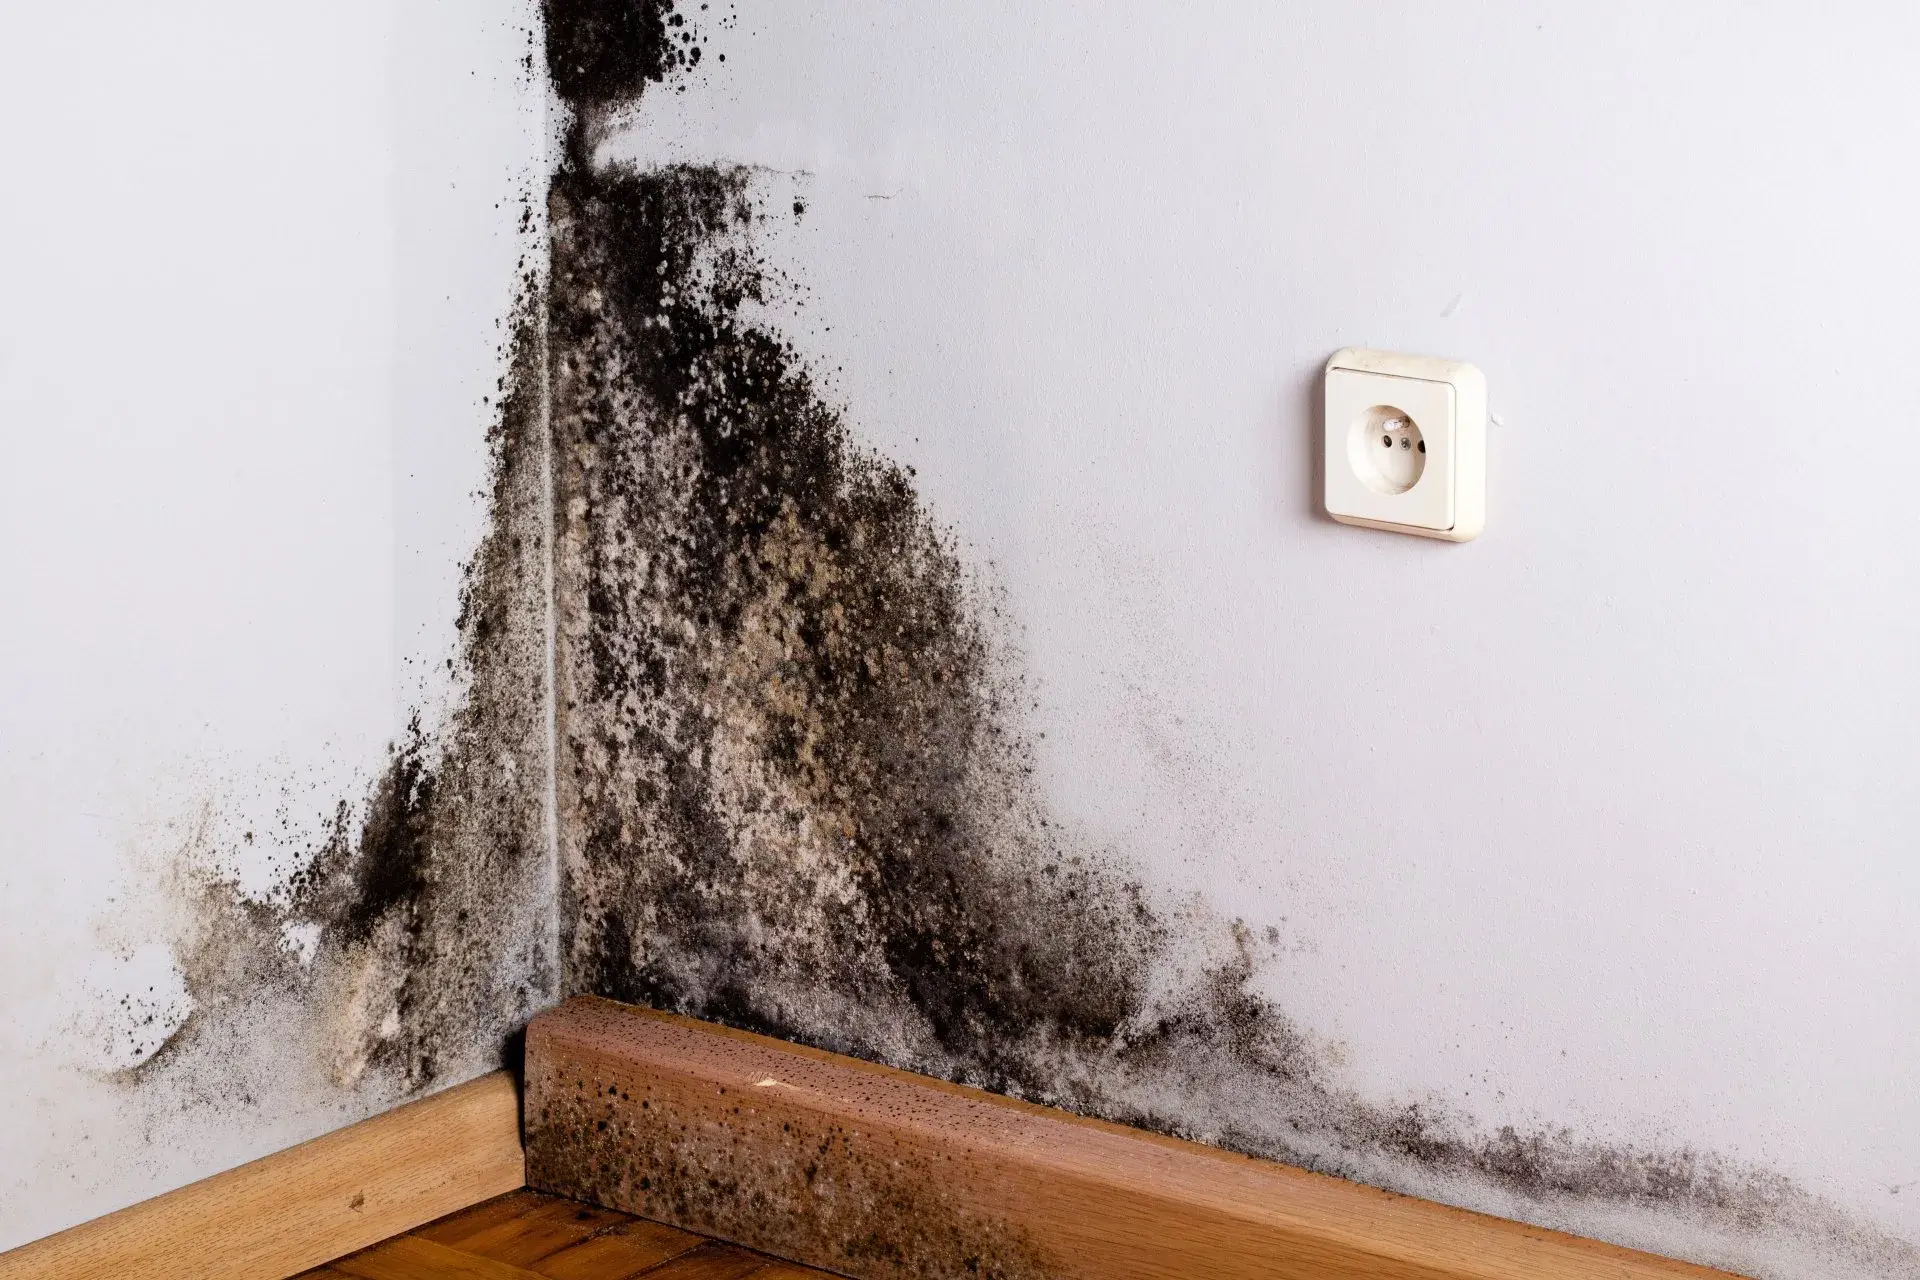
How to Remove Mold From Walls

If you’re seeing mold on your walls, you’re probably thinking one thing:
“How do I get rid of this right now?”
Good news — most small patches of mold are completely manageable without expensive remediation.
The key is simple:
Remove it safely → fix the moisture → prevent it from coming back.
This guide walks you through exactly what to do, when DIY is safe, and when it’s smarter to call a professional.
Is Mold on Walls Dangerous?
Most household wall mold isn’t immediately dangerous — but it’s not something you should ignore either.
It can:
-
Trigger allergies
-
Cause musty odors
-
Irritate asthma
-
Spread if moisture continues
You may hear scary terms like “toxic black mold,” but for most homes, the removal process is the same regardless of the type.
You don’t need to panic — you just need to act quickly.
Should You Remove It Yourself or Call a Professional?
Before grabbing cleaner, decide if this is a DIY job or not.
You can safely DIY if:
-
The area is smaller than ~10 square feet (about a small wall patch)
-
Mold is only on the surface
-
No soft drywall or water damage
-
It’s not recurring constantly
Call a pro if:
-
Large or spreading areas
-
Mold inside walls or insulation
-
Musty smell won’t go away
-
Water leaks or flooding
-
HVAC involvement
-
Health issues (asthma, immune conditions)
If you’re unsure, start small. If it comes back quickly, that usually means there’s a deeper moisture problem.
How to Get Rid of Mold on Walls (Step-by-Step)
Here’s the exact process most homeowners should follow.
Step 1 – Protect Yourself
Don’t skip this.
Wear:
-
Gloves
-
N95 mask (or better)
-
Old clothes
-
Eye protection
Open windows and ventilate the room.
Avoid dry scrubbing — that spreads spores into the air.
Step 2 – Choose the Right Cleaner
Not all cleaners work the same.
Best options:
-
White vinegar (kills most household mold naturally)
-
Hydrogen peroxide (3%)
-
Commercial mold removers
Avoid bleach on drywall or painted walls.
Bleach only cleans the surface and doesn’t penetrate porous materials like drywall, which means mold often returns.
Bleach works better for tile or non-porous surfaces only.
Step 3 – Clean the Area
-
Spray the cleaner generously
-
Let sit 10–15 minutes
-
Gently scrub with a soft brush or sponge
-
Wipe clean
-
Dry completely
Drying is critical. Moisture left behind = mold returns.
Use fans if needed.
Step 4 – Dispose Properly
Throw away:
-
Sponges
-
Paper towels
-
Heavily contaminated materials
Seal in a trash bag to avoid spreading spores.
Why Mold Grows on Walls in the First Place
This is where most people mess up.
Cleaning mold without fixing moisture is like mopping up water without turning off the leak.
Common causes include:
-
High indoor humidity (above 50%)
-
Bathroom or kitchen steam
-
Poor ventilation
-
Condensation on cold exterior walls
-
Leaks behind drywall
-
Basement moisture
-
Poor insulation
If mold keeps coming back, moisture is the real problem.
How to Stop Mold From Coming Back (Prevention Checklist)
This is what actually solves it long term.
Keep humidity under 50%
Use a dehumidifier if needed.
Run exhaust fans
Bathrooms and kitchens especially.
Improve airflow
Don’t block vents or push furniture tight against cold walls.
Fix leaks fast
Even tiny drips create mold fast.
Insulate cold exterior walls
Condensation often forms here.
Clean regularly
Especially bathrooms and basements.
Consider mold-resistant paint
If repainting, it adds protection.
Prevention is always easier than removal.
Do You Need to Test the Mold?
Short answer:
Usually no.
Testing is only helpful when:
-
Health symptoms are severe
-
Insurance claims
-
Legal or real estate situations
-
Large infestations
For small household patches, it doesn’t matter what type it is — treat and remove it.
Testing often just adds cost without changing the solution.
Can You Paint Over Mold?
Not directly.
If you paint over mold without cleaning it first, it will grow back underneath.
Correct method:
-
Clean mold completely
-
Let dry
-
Use a mold-blocking primer
-
Then paint
Otherwise you’re just hiding the problem.
When Mold Means a Bigger Problem
If you notice any of these, skip DIY and get help:
-
Soft or crumbling drywall
-
Bubbling paint
-
Warped baseboards
-
Ceiling stains
-
Persistent musty smell
-
Mold returning within days
These usually mean moisture inside the wall.
Frequently Asked Questions
Does vinegar really kill mold?
Yes — it kills most common household molds and penetrates porous surfaces better than bleach.
Is bleach bad for mold?
Not bad, just ineffective on drywall and wood. It only cleans the surface.
How fast does mold grow?
It can start within 24–48 hours if moisture is present.
Why does mold keep coming back?
Humidity or leaks weren’t fixed.
Is black mold toxic?
Most black molds aren’t dangerous for healthy people, but all mold should be removed.
Should I leave the house while cleaning?
Not necessary for small areas, but ventilate well.
How much does professional remediation cost?
Typically $500–$3,000+ depending on severity.
Final Thoughts
Most wall mold problems are totally fixable.
Remember the formula:
Clean it → Dry it → Fix the moisture → Prevent it
If you do all four, it usually doesn’t come back.
Ignore the moisture, and it always does.
- Why Your Septic Tank Smells When It Rains (and What to Do About It)
- How to Handle Water-Damaged Wood in Your Home or Business
- How to Prevent and Remove Mold from Pillows: A Complete Guide
- Why Is My Carpet Always Wet? A Step-by-Step Guide to Identifying the Source of Moisture
- Signs of Septic System Failure and What It Means for Your Basement